




Destiny 2 Warlord's Ruin Dungeon Guide
Table of Contents
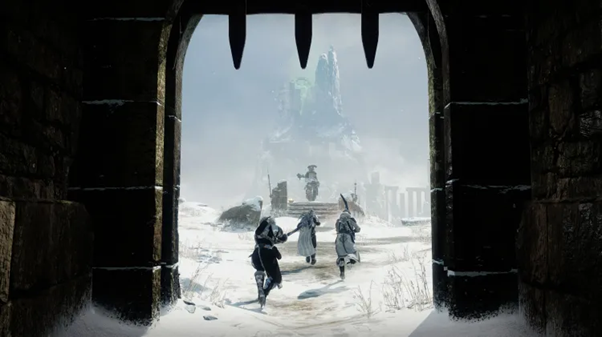
Warlord’s Ruin is a demanding and complex endgame dungeon set within the remnants of an ancient battlefield dominated by the relentless Scorn. This dungeon challenges Guardians with several unique mechanics, including cleansing Scorn devices, activating torches for damage phases, and mastering the tricky Hex mechanic that requires precise debuff management. Success requires meticulous preparation, solid teamwork, and knowledge of the dungeon’s core mechanics. Whether you are attempting a regular run or the more daunting Master difficulty, having the right strategy and gear will determine the outcome.
Dungeon Preparation
The Warlord’s Ruin is no ordinary dungeon, demanding careful team composition and gear optimization to handle the challenges it presents. Different classes shine in this environment:
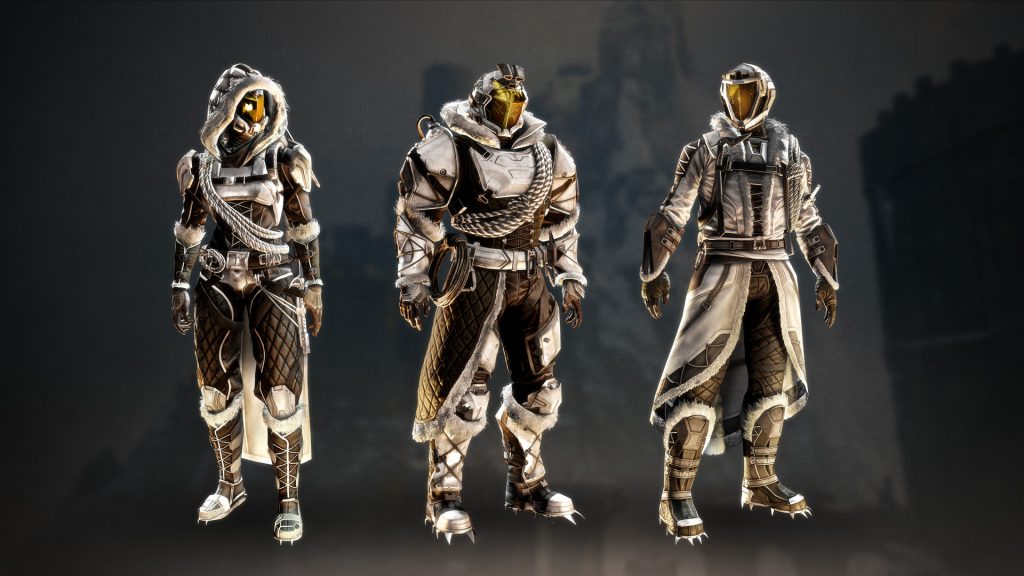
- Hunters: Nightstalker Hunters are excellent choices due to their Void Tether, which provides damage debuffs on enemies and crowd control. With the ability to turn invisible, they can easily revive downed teammates or navigate the battlefield unscathed. Alternatively, a Revenant Hunter using Stasis can freeze groups of enemies, making hectic moments more manageable. Focus on gear that supports quick recovery and ability uptime.
- Warlocks: Warlocks are essential for their strong support capabilities. A Well of Radiance Warlock is practically mandatory, offering incredible survivability during damage phases and allowing safe healing. If you want a more aggressive playstyle, a Shadebinder with Stasis can crowd-control large groups of Scorn enemies, freezing them in place. An Arc Warlock using Stormcaller, paired with Arc Soul, can significantly boost team damage output and clear add waves effectively.
- Titans: Titans should lean on their defensive capabilities to anchor the team. A Sentinel Titan with a Bubble can create safe zones and increase weapon damage during crucial boss encounters. If you prefer a more offensive build, a Thundercrash Titan with the right Exotic gear can deliver devastating damage, particularly during the boss phase. Solar Titans with Loreley Splendor Helm also offer consistent healing, making them a reliable choice for staying alive under heavy pressure.
Recommended Loadouts:
- Primary Weapons: Use a mixture of crowd control and high DPS weapons. Bows and Pulse Rifles are great for clearing ads from a distance, while Scout Rifles and Hand Cannons can be used to break enemy shields.
- Special and Heavy Weapons: Choose heavy DPS options like Linear Fusion Rifles, Sniper Rifles, and Rocket Launchers for boss damage. Weapons with perks like Vorpal Weapon, Firing Line, and Frenzy can maximize your output. Machine guns and wave-frame grenade launchers are ideal for clearing waves of ads.
- Armour Mods: Equip mods to increase survivability, such as Protective Light or Well of Tenacity. Pair them with Charged With Light mods for enhanced damage resistance. Ammo Finder and Scavenger mods ensure you won’t run out of critical ammo during lengthy encounters.
How to Access the Dungeon
Accessing Warlord’s Ruin requires completing the Lightfall campaign. Once this prerequisite is met, you’ll need a Dungeon Key, available through the in-game store or included in some season passes. Once you have the key, the dungeon can be accessed from the destination map, allowing you to team up with your fire team and embark on the journey into the ruined landscape.
Secret Chests
There are several hidden rewards within Warlord’s Ruin, with secret chests scattered throughout the dungeon. These chests offer players the chance to obtain valuable resources, gear, and exclusive cosmetics:
- First Secret Chest: After the first encounter, take a detour to the right side of the arena. Follow the narrow path to a small ledge that leads to a hidden alcove. This chest often contains Enhancement Prisms or special shaders linked to the dungeon.
- Second Secret Chest: During the traversal section between the second and third encounters, a faintly glowing light will indicate the path to a hidden room. This chest is located off the beaten path, granting unique dungeon-related rewards.
Finding these secret chests can be the difference between an average run and a fully optimized one, as they often drop additional resources that will prepare you for tougher challenges ahead.
Step-by-Step Walkthrough
First Encounter: Cleansing Scorn Devices
The first encounter involves cleansing Scorn devices to drop the boss’s shield. The battlefield is filled with these glowing devices, each protected by nodes that must be shot in a specific order. Once cleansed, the boss becomes vulnerable, allowing your team to inflict heavy damage. The timing is critical here—clear ads before initiating the device cleanse, as swarms of Scorn will attempt to disrupt your efforts. Use your best DPS weapons during the boss’s vulnerability phase to maximize damage output.
Second Encounter: Activating Torches
The second encounter revolves around the proper use of torches scattered across the battlefield. Each torch must be activated in the correct sequence to start a damage phase. As soon as a torch is triggered, waves of Scorn enemies will attack, necessitating strong crowd control and add management. Once the torches are successfully activated, the mini-boss becomes vulnerable. Coordinate with your fireteam to handle the add waves efficiently, and use abilities that can stun or disrupt the Scorn, creating windows of opportunity for significant damage.
Third Encounter: Final Boss Fight and the Hex Mechanic
The final encounter introduces the Hex mechanic, a debuff that impacts your damage output. The Hex must be transferred between team members to manage its effects without risking a team wipe. The boss will unleash several high-damage attacks, so mobility and debuff management are crucial to survival. Equip defensive gear and use your best damage-dealing weapons to take advantage of the Hex’s boosted damage. Consider using Well of Radiance or a protective Bubble during the most intense moments to mitigate incoming damage while maximizing your offensive efforts.
Master Difficulty Differences
Master difficulty significantly increases the dungeon’s challenges, including the introduction of additional champions, such as Overload and Barrier Champions. These require specific anti-champion mods, forcing the team to carefully coordinate loadout. Elemental shields are more common, demanding diverse damage types. Enemies in Master difficulty hit harder and have larger health pools, necessitating efficient and focused damage phases. Having the correct elemental setup and damage types is crucial to overcoming these tougher foes.

Loot Table
Warlord’s Ruin is known for its rewarding loot, which varies based on the difficulty level. Here’s what you can expect:
- Weapons: Completing the dungeon can earn you unique weapons, including Linear Fusion Rifles, Scout Rifles, Shotguns, and other specialized gear. Look for top-tier perks like Firing Line, Vorpal Weapon, and Rewind Rounds, which are particularly effective in high-level PvE.
- Armor: Completing encounters drops themed armor sets that feature high-stat rolls with a focus on attributes like resilience, recovery, and intellect. Master difficulty can drop Artifice Armor, offering additional mod slots and making it a preferred choice for endgame content.
- Exotic Rewards: Warlord’s Ruin offers a chance to earn an Exotic weapon upon completion, equipped with unique perks tied to the dungeon’s mechanics, making it a powerful asset for endgame activities.
Triumphs and Exclusive Rewards
Conquering Warlord’s Ruin comes with numerous rewards and triumphs:
- Completion Triumph: Completing the dungeon on Normal or Master difficulty grants special emblems, shaders, and unique titles.
- Flawless Run: Completing the dungeon flawlessly, without any deaths, rewards you with a unique emblem and shader. This achievement requires precise execution and teamwork, especially during the more challenging encounters.
- Secret Hunter: Discovering all secret chests unlocks exclusive cosmetics and adds lore entries to your collection, enriching the game’s story.
- Weapon Master: Specific triumphs tied to weapon usage during encounters unlock an Exotic weapon tied to the dungeon, encouraging diverse playstyles and builds.
Solo and Flawless Runs
Solo and flawless runs represent the pinnacle of challenge in Warlord’s Ruin:
- Solo Tips: Running the dungeon solo requires a careful selection of defensive and offensive gear. Well of Radiance Warlocks, Void Hunters, and Solar Titans are well-suited for this due to their resilience and damage options. Take your time clearing ads, and focus on survival over speed. Consider gear that regenerates health or provides strong defensive benefits.
- Flawless Strategies: A flawless run demands patience, precision, and in-depth knowledge of each encounter. Learn spawn patterns and positioning to minimize the risk of surprise attacks. Prioritize health-regenerating gear, and use protective abilities like Bubble and Well during boss damage phases. A cautious approach and a steady hand are essential to achieve a flawless completion.
Conclusion
Warlord’s Ruin is a rewarding yet demanding dungeon that calls for careful preparation, teamwork, and a deep understanding of its unique mechanics. Whether tackling Normal or the challenging Master difficulty, players are tested much like in high-level encounters, including D2 Grandmaster Nightfall or Root of Nightmares Raid. The thrill of mastering each phase and earning rare, powerful loot, like the coveted Necrochasm, makes every attempt worthwhile. With the right strategy, preparation, and options to Buy Destiny 2 Raids Boosting or Crota’s End Raid boost for extra support, victory will favor those who communicate and execute with precision.
Top sales

Check other guides






FAQ
- Which class setups are recommended for Warlord’s Ruin?
Hunters, Warlocks, and Titans each have effective builds: Nightstalker Hunters for crowd control, Well of Radiance Warlocks for healing, and Bubble or Thundercrash Titans for damage. Specific builds optimize survivability and crowd control for each class.
- What rewards can I earn from Warlord’s Ruin?
Warlord’s Ruin offers unique weapons, armor with high-stat rolls, and a chance at exclusive Exotic items. Triumphs for completing it in Normal or Master modes also grant emblems, shaders, and unique titles.
- How do I access Warlord’s Ruin Dungeon in Destiny 2?
To access Warlord’s Ruin, complete the Lightfall campaign and obtain a Dungeon Key, which is available in the in-game store or included in certain season passes.
Author

Hello, dear readers! My name is Twist, and I am the author of the site Boosters.gg, here you will find reviews of various services for boost your favorite game characters and in general a lot of useful things.My goal is to share with you my experience and advice on how to achieve the desired in this or that game. Thank you for your attention!